
Edging pavers are the key to a long lasting outdoor space. Whether you’re building a garden path, patio or driveway, edging is what holds it all together. Below we’ll break it all down, what paver edging is, why it’s important, the benefits and the materials you can use.
What is Paver Edging and Why Is It Important?
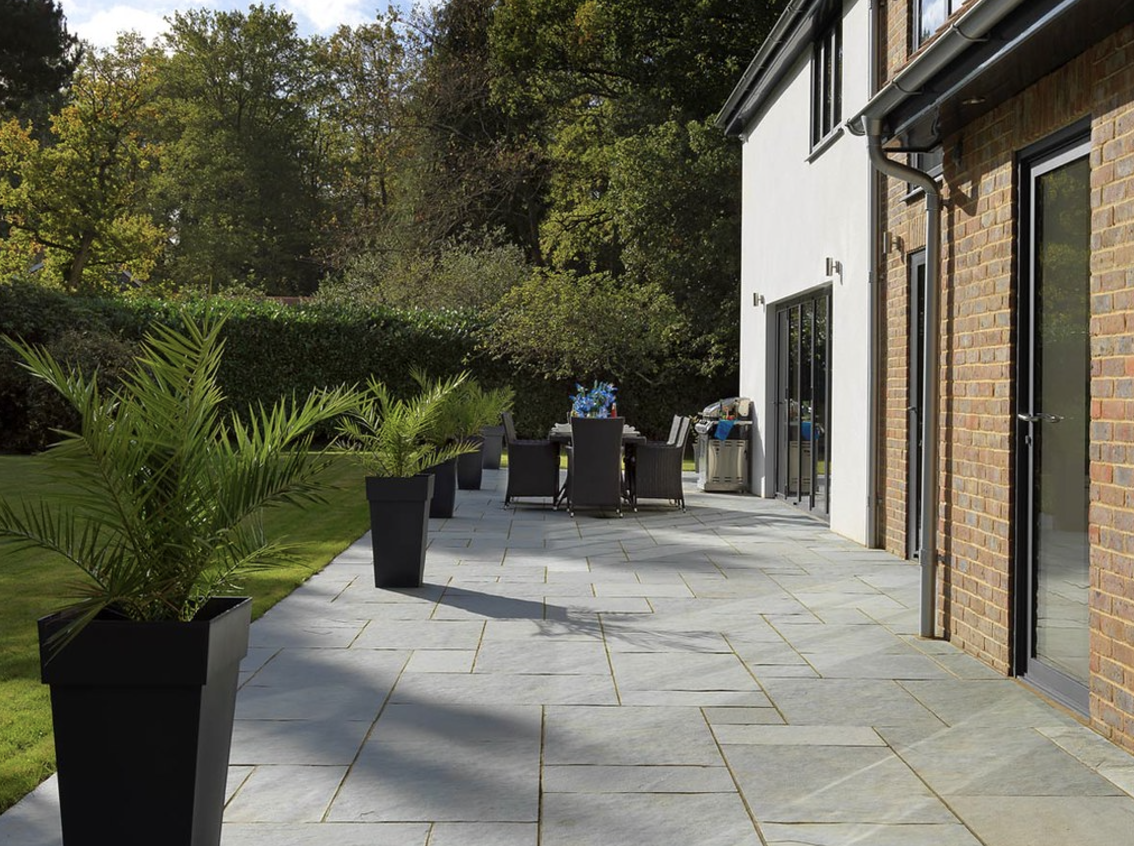
Paver edging is a flexible or rigid material used to hold brick or sand-set pavers in place. Think of it as the frame that holds everything together so your pavers don’t move and your landscape looks clean and tidy.
The beauty of paver edging is its flexibility. It can be used for straight lines, curves or angles so you can customise your garden, patio or outdoor living space. Whether you’re using pavers and outdoor tiles for a pathway, patio or decorative edge, edging keeps everything stable and looking polished. Plus it’s a weekend DIY project or a job for a professional contractor if you want precision.
Benefits of Paver Edging
Edging does more than look good – it’s part of the paver installation. Here’s why:
- Keeps Pavers in Place: Pavers can shift over time due to foot traffic, weather or soil movement. Edging keeps them snug in place.
- Protects the Base: By containing the sand or gravel base edging prevents it from washing away in heavy rain and extends the life of your patio or pathway.
- Defines the Design: Edging adds a clean edge between your pavers and grass, mulch or garden beds.
- Increases Durability: A well installed edge reduces the need for future repairs.
Pro Tip: For high traffic areas or areas that get a lot of rain invest in heavy duty materials like aluminium or concrete edging for longevity.
 What Paver Edging Materials are Available?
When it comes to paver edging there’s plenty of choices. The material you choose will depend on your design, budget and how durable you need it to be. Here are the most popular:
- Plastic Edging: Affordable, lightweight and flexible – perfect for curved pathways or DIY projects.
- Aluminium Edging: Sleek, durable and for straight lines. A step up in quality and works well in modern designs.
- Brick Edging: A classic option that goes well with brick pavers. Bricks can be laid flat, upright or at an angle for different looks.
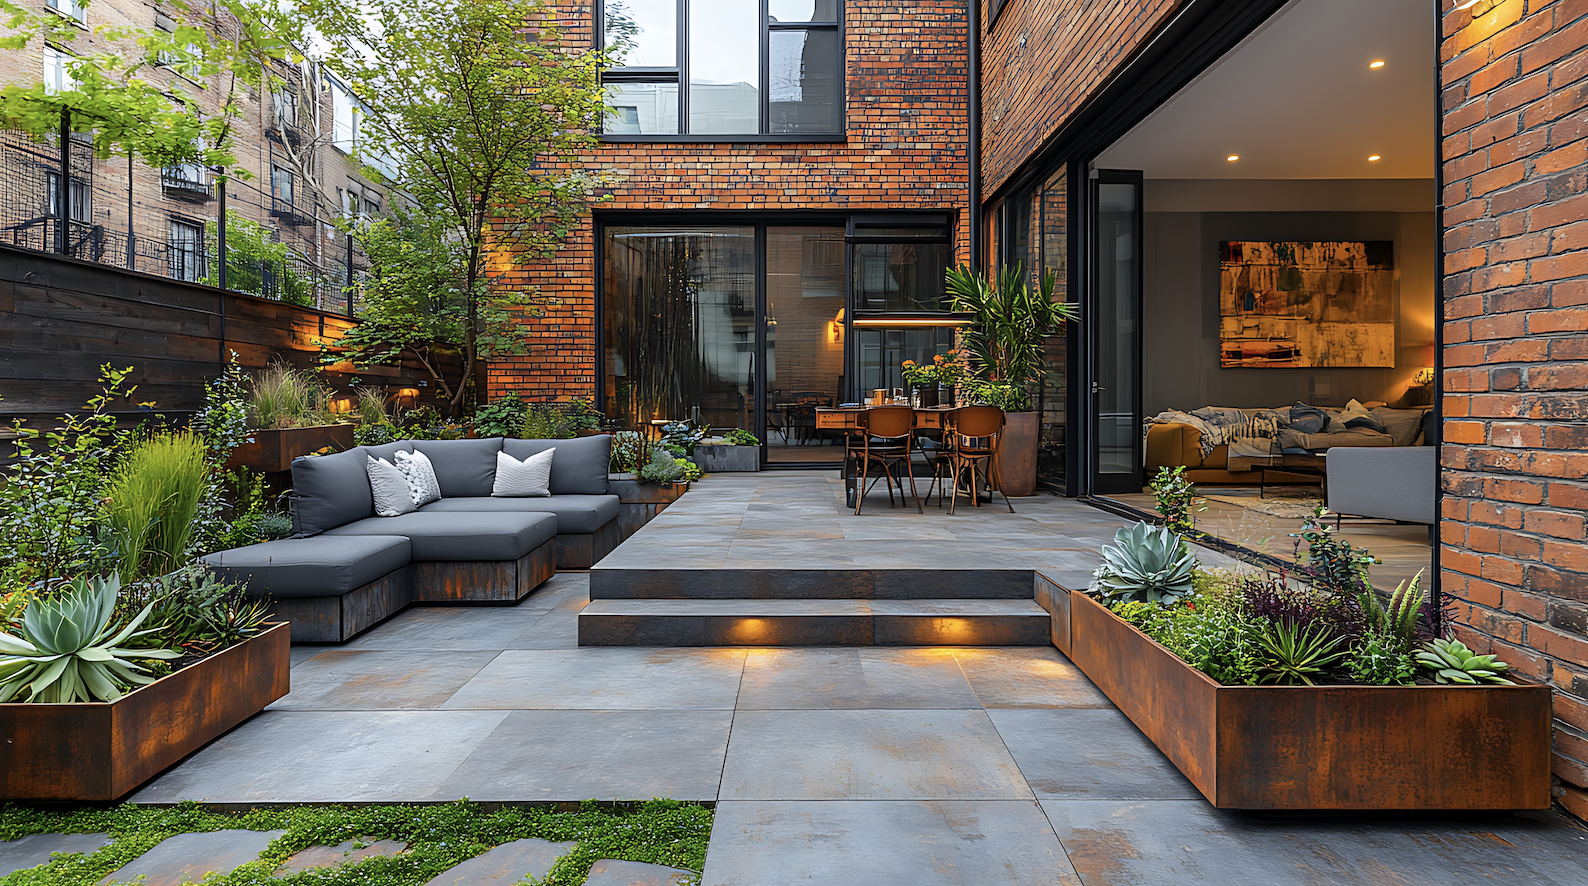
- Stone Edging: Flagstone or cut stone for a natural, timeless look that blends with gardens and rustic landscapes.
- Concrete Edging: The most durable option, concrete edging is a permanent border for driveways or high traffic areas.
- Wood Edging: Pressure treated wood adds a warm natural look but requires maintenance to prevent rot over time.
Pro Tip: If you’re doing curves opt for plastic or brick edging which can be shaped. For heavy duty projects concrete or aluminium will give you the most stability.
How to Install Edging Pavers
Ready to get started? In the next section we’ll walk you through the step by step process of installing paver edging so you can have a professional looking landscape for years to come.
Step 1: Make a Plan
First design where the paver edging or pathway will be installed. A plan will prevent mistakes later.
- Use string, stakes or a garden hose to mark out the shape.
- Check for underground sprinklers, pipes or wiring before you dig.
Pro Tip: Draw your design first and adjust as needed to avoid last minute changes.
Step 2: Dig and Level the Site
Clear the ground of grass, debris or obstructions. This will give you a solid base for your pavers.
- Dig out the sod and rake out rocks, grass or debris.
- Compact the soil with a hand tamper or shovel.
- Lay landscape fabric over the area to stop weeds, secure it in place.
Pro Tip: A level surface is key to long lasting pavers—take your time compacting and smoothing the soil.
Step 3: Add the Gravel Base
A base is important for paver longevity especially in wet areas.
- Spread a 2-4 inch gravel layer (or polymer jointing sand) over the landscape fabric.
- Compact and level the base with a hand tamper or plate compactor.
- Re-secure the layout strings to keep everything in line.
Pro Tip: Extend the gravel base slightly beyond the outline to give extra support along the edges.
Step 4: Calculate the Trench Depth
Calculate the trench depth based on the paver height and sand layer.
- Formula: Paver height – Desired height above ground + 1-2 inches for sand.
- Example: For a 3 1/2 inch paver sitting 1/2 inch above the ground with a 2 inch sand layer, the trench depth = 5 inch.
Pro Tip: Always plan for settling over time—start with pavers 1/2 inch higher than the final height.
Step 5: Position the Paver Edging
Lay the paver edging along the marked out line to create the shape of your design.
- Use the layout strings as a guide to line up the edging.
- Cut edging with a hand saw or jigsaw for tight spaces or ends.
Pro Tip: For curves position the edging loosely first then adjust before securing.
Step 6: Cut the Edging to Form Curves
If your design has curves, modify the edging to give flexibility and a natural look.
Cut the connecting tabs along the edges of the paver edging to allow bending.
For tighter curves get a helper to hold the edging in place while cutting.
Pro Tip: Work slowly and make small adjustments—rushing will give you uneven or jagged curves.
Step 7: Secure the Edging
Hammer nylon spikes through the pre-drilled holes in the edging.
- Space spikes 12 inches on straight lines and closer on curved sections.
Pro Tip: Don’t hammer too hard to avoid cracking or snapping the edging.
Step 8: Add the Sand Layer
Before laying pavers add a sand layer to give a smooth level base.
- Spread 1-2 inches of sand evenly over the compacted gravel base.
- Use a board or trowel to smooth and level the sand.
Pro Tip: Check the trench depth with a paver to make sure the base is even.
Step 9: Lay pavers
Lay pavers into the trench, starting at one end and work towards the other.
- Lay pavers tight together to minimize gaps.
- Use a carpenters level to check the pavers are flat and even.
- Tap pavers in with a rubber mallet if needed.
Pro Tip: If a paver is loose, add more sand underneath or tap gently to adjust.
Step 10: Fill gaps with jointing sand
Once the pavers are in place secure them by filling the joints with sand.
- Sweep jointing sand into the gaps between pavers.
- Mist with water to help it settle and lock the pavers in place.
Pro Tip: Repeat the sand filling process in a day or two to make sure all gaps are full.
Step 11: Final check and clean up
Ensure your edging to make sure everything is secure and level, as it shouldn’t have gaps or loose areas. Afterwards, sweep away any excess sand or debris from the surface.
Pro Tip: Step back and admire your work—a well installed paver edging looks great!
Final Touches and Maintenance
Once the paver is installed it’s important to clean, inspect and secure the area to get a finished and durable result. Start by cleaning the paver surface. Sweep away any dirt, debris or excess sand left from installation and hose down for a clean finish. As you clean, inspect the pavers and edging for any gaps, loose areas or unevenness.
- Tap any uneven pavers in with a rubber mallet.
- Add more sand to fill any visible gaps, brush in for stability.
- Sweep the surface clean again.
Once the pavers are stable and gaps are filled you can choose to seal the pavers. Sealing is optional but highly recommended for long term protection.
- Benefits of sealing: It prevents stains, water damage and harsh weather.
- Apply a paver sealer to the surface evenly according to the manufacturers instructions and let it dry before use.
To finish the installation add a layer of sand or soil around the edging to blend it in with the surrounding landscape. This layer will also help to secure the installation.
- Compact the soil so it doesn’t settle over time.
- Smooth and level the soil or sand for a clean finish.
Pro Tip: Regular maintenance—sweep, rinse and reapply joint sand will keep your pavers looking new and last longer. For high traffic areas reapply sealer every 2-3 years.
By doing these final steps you’ll have a paver installation that’s solid, looks good and weatherproof for years to come.