
A shiplap accent wall adds rustic charm and modern flair to any room, transforming plain spaces into cozy focal points. Shiplap is a kind of wooden board that’s cut to fit together snugly, creating an aesthetically pleasing overlap. It’s trendy and, if done well, it can even boost your home’s resale value! Best of all, you don’t need to be a pro to create one. With affordable materials and a weekend, you can install a DIY shiplap wall for a couple of hundred dollars. Here’s a step-by-step guide to bring instant character to your home with shiplap.
Find Your Location
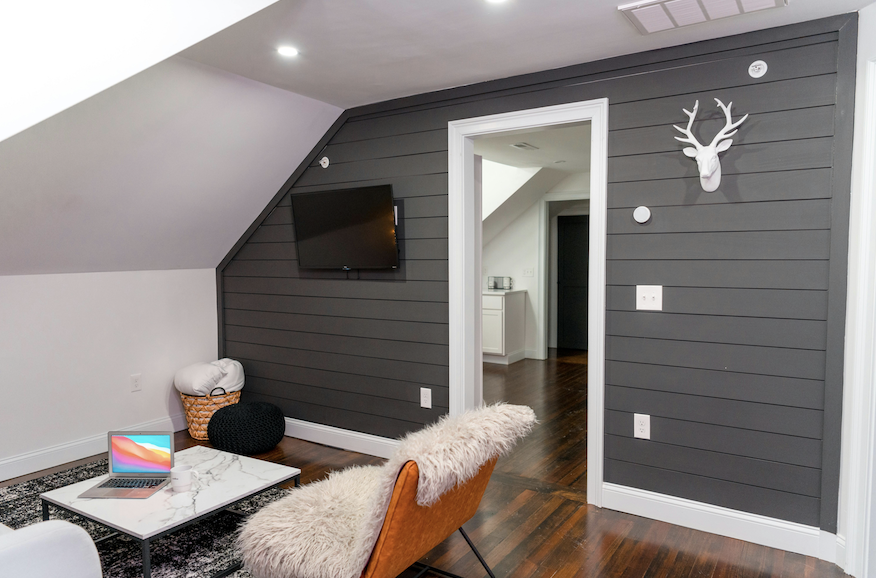
An accent wall is a single wall in a room that’s designed to stand out from the others, acting as a focal point to enhance the space’s style. It’s typically distinguished by a bold color, decorative elements, or different texture, such as shiplap! A good candidate for an accent wall is a clean, flat wall with high visibility, like the wall behind a bed, sofa, or fireplace, free of windows or doors to avoid visual clutter.
Plan and Measure
Measure the wall’s dimensions to calculate material needs; one 4×8 plywood sheet covers 32 square feet. Sketch a layout, noting that shiplap boards are typically 5-6 inches wide. Locate studs with a stud finder and mark them with a pencil or painter’s tape for secure nailing. Turn off the power to the wall’s outlets and remove any cover plates.
Gather Your Materials
Start with 1/4-inch thick underlayment plywood – typically easy to find at your local home improvement store for roughly $20-$30 per 4×8 sheet. In a pinch, you could also use pre-cut shiplap boards, but it will run you roughly $50-$100 for 100 square feet. You’ll also need about $150 of basic tools, including a level, stud finder, construction adhesive, 1.5-inch brad nails, a nail gun, a saw, sandpaper, primer, and paint. If you’re dealing with a larger surface, consider renting a roll away dumpster to handle excess wood scraps, packaging, and other refuse from your project. And of course, don’t forget gloves and goggles.
Prepare the Boards
If using plywood, cut it into 5-6-inch-wide strips to mimic shiplap. A table saw ensures precision, but a circular saw with a guide works too. Sand the edges lightly to remove splinters. For authentic shiplap, stack boards with a slight gap to create shadow lines.
Install the Shiplap
Start at the bottom. Apply a thin bead of construction adhesive to the back of the first board for extra hold. Place it level along the baseboard, leaving a 1/8-inch gap at the floor for expansion. Nail the board into studs with 1.5-inch brad nails, spacing nails every 12-16 inches. For the next row, stagger the seams by cutting a board to a different length, creating a brick-like pattern. Check for level every few rows. Continue until the wall is covered, trimming the top board to fit if needed. It’s also a good idea to throw out waste, such as adhesive tubes and other miscellaneous debris – as you go to keep your work area clean.
Finish with Style
Fill nail holes with wood filler and sand smooth. Caulk gaps along edges for a polished look. Apply a coat of primer, followed by two coats of paint in a color that pops, and voila-your shiplap accent wall is now a stunning centerpiece. Style it with floating shelves, framed art, and you have an easy way to enhance your home’s look!